To Install WordPress on localhost you have to do 3 major tasks. Such as:
- Create an Environment
- Download WordPress from its website
- At end Install WordPress
Follow the following steps without skipping any of them to install WordPress on your localhost successfully.
Step 1: Open a local server software
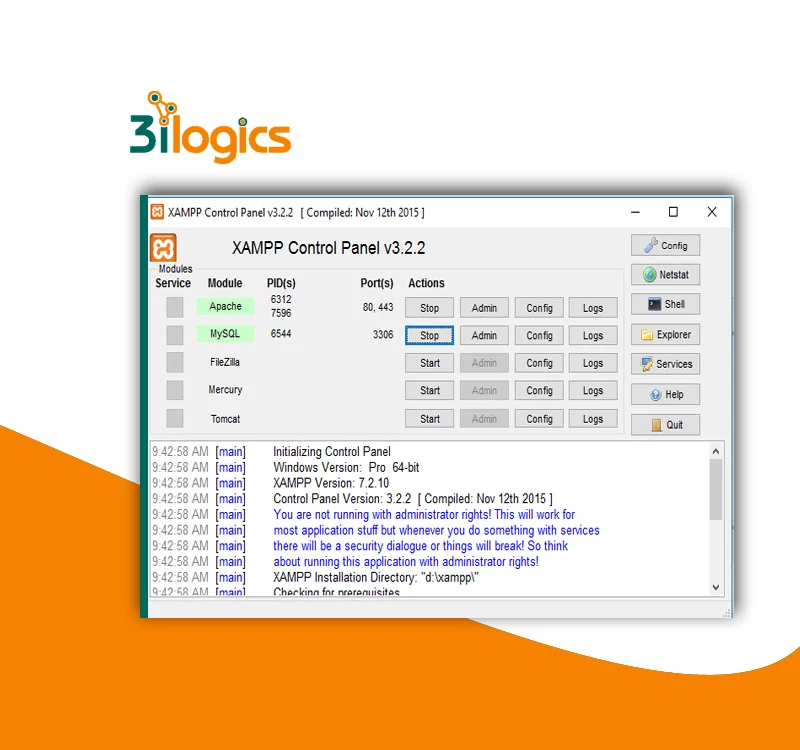
Step 2: Create a Database
WordPress needs a database to save its data on the local server. Now open a browser and go to “localhost/phpmyadmin”. Click on “New” and give a name and then click on “Create” to create the database.

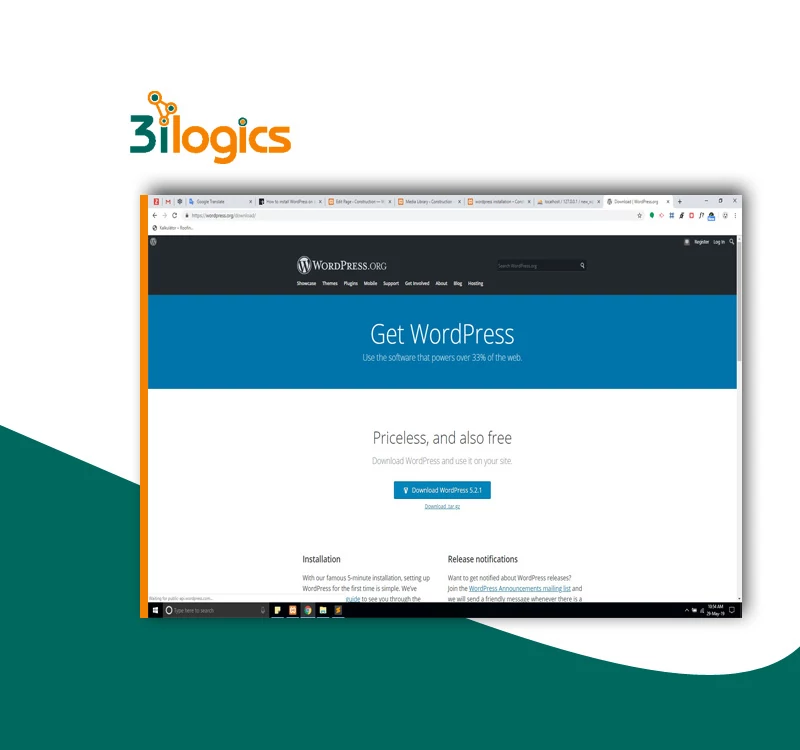
Step 3: Download WordPress
Now, download WordPress from “wordpress.org“, then unzip the downloaded folder.
Step 4: Put WordPress in XAMPP’s htdocs
Now go to the XAMPP directory in the computer’s system drive. Open “htdocs” folder and paste the unpacked WordPress folder there.

Step 5: Install WordPress on localhost
Type “http://localhost/wordpress(name of WordPress file in htdocs folder)” in the address bar and press enter. Now follow the steps:
- Select Language and press “Continue”.
- press “Let’s go!”.
- Fill database name(created early), with Username, Password, Database Host and Table Prefix then press “Submit”.
- Press “Run the Installation”.
- Fill required information and press “Install WordPress”.
- WordPress has been Installed Successfully, Press on login.


Step 6: WordPress Installed Successfully
After completing all the above steps, WordPress is successfully installed and the WordPress Dashboard is the first page we see. This dashboard page defines all the content of our website, now we can customize our page through Dashboard.